
Stygian Outer Gods Code for Smugglers Cave: Clues
Check the stygian outer gods code for smugglers cave: the reported village landmarks, three-symbol order and limits of the lighthouse cave solution.
On this page
- Identify the cave before using its answer
- The reported landmark order
- Begin with the note inside the cave
- Inspect the workshop clue first
- Interpret the temple of sleep as an inn clue
- Check the store for the final mark
- Return to the pillars with three identified blocks
- Understand the reported reward and its limits
- Keep the mine and cave answers separate
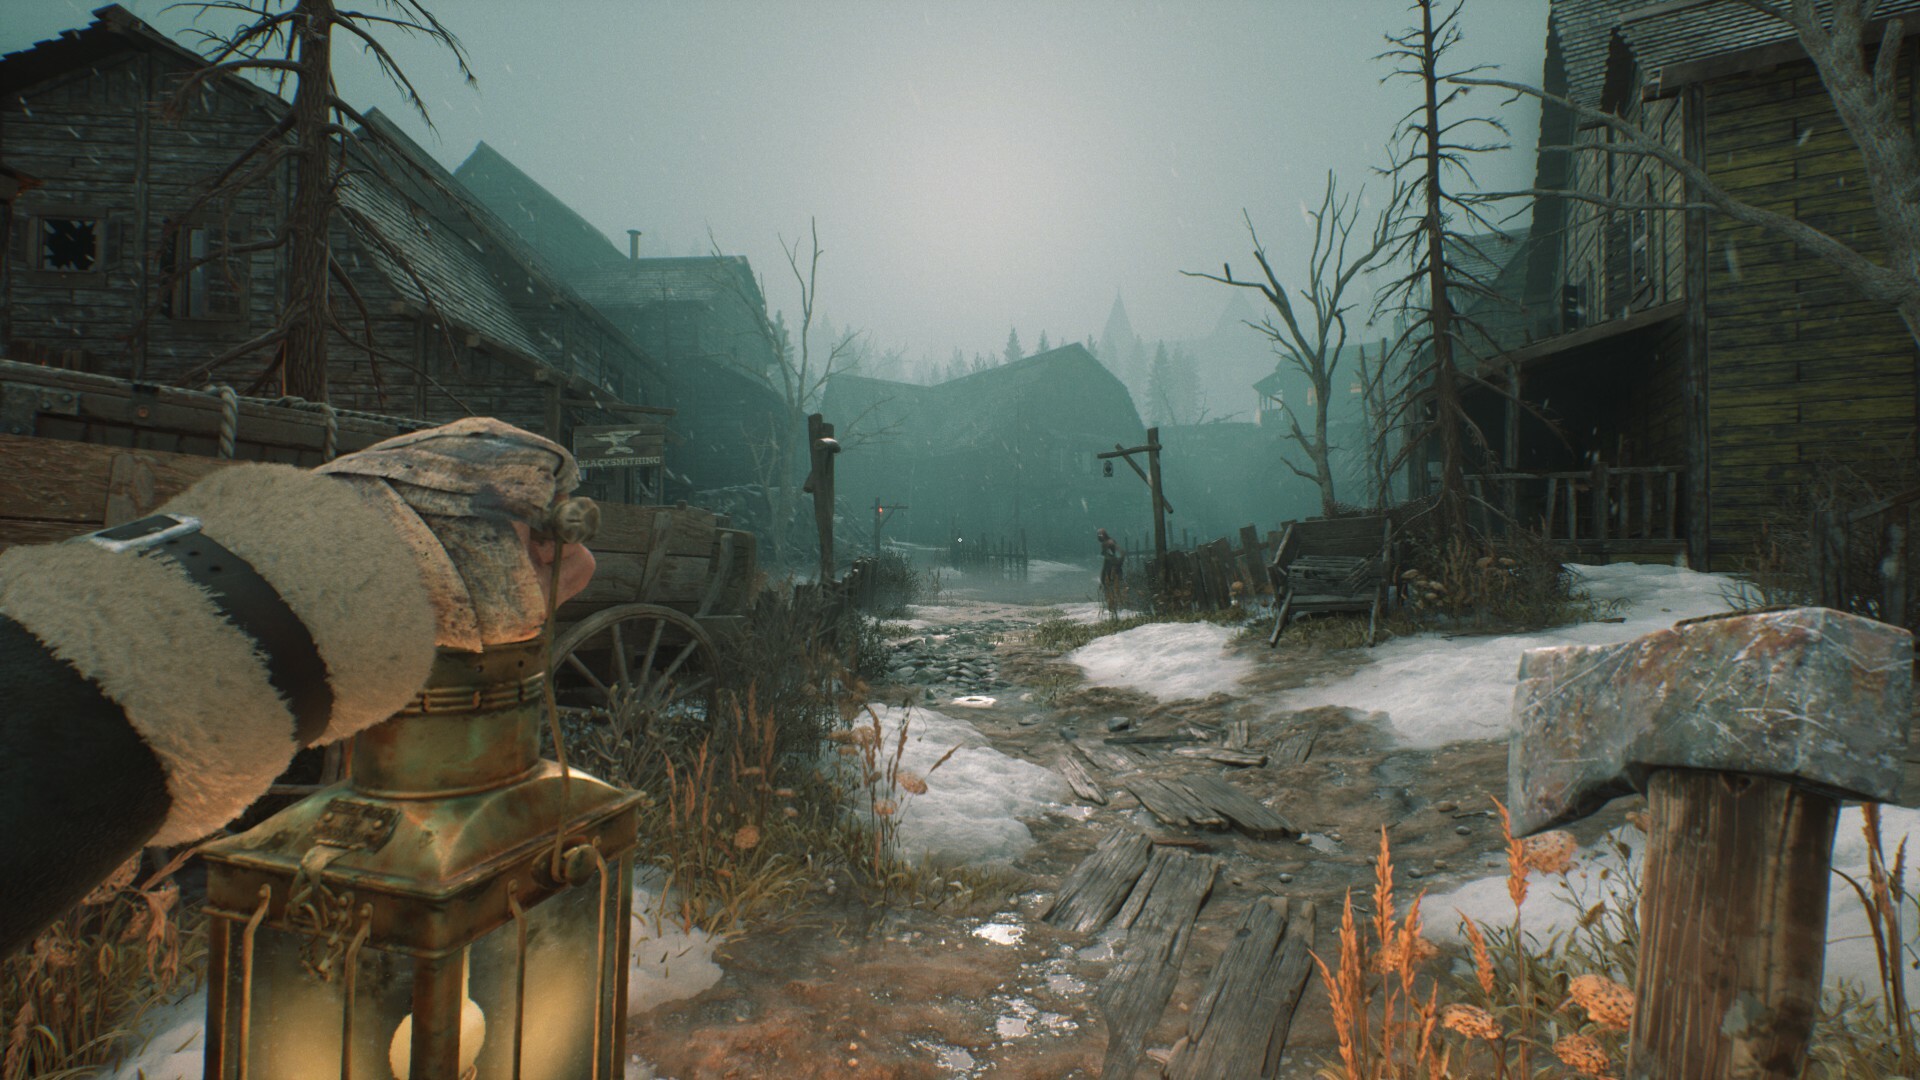
Identify the cave before using its answer
The strongest matching source describes a hidden cave under the lighthouse, rather than naming it Smugglers Cave. A player identifies the approach as turning left near the water after leaving the elevator. That is a useful landmark description, but it does not establish that every search using the smugglers label means this exact location. Original cave report.
Compare that description with the place you are exploring before using the rest of this page. The related puzzle involves stone blocks, a written riddle and a sealed route, not a conventional numerical keypad. If your objective or mechanism does not match, its answer is pending confirmation rather than something this guide should guess.
The reported landmark order
A later Steam discussion gives a more complete explanation: the clue points first to a workshop, next to a place of beds described as a temple of sleep, and finally to a place that provides supplies. The respondent identifies those places as Workwoods, Nightiar Inn and Osbourne's store, with spellings taken from that community post. They then describe returning to the cave and arranging the three matching blocks on pillars upstairs. Detailed community solution.
Use workshop, inn and store as the meaningful sequence if localized names differ on your screen. The location order is the reported solution; this page does not invent a substitute string of numbers or name symbols that it has not inspected. Your own clue text and the marks visible at those landmarks are the way to complete the matching step.
Begin with the note inside the cave
The detailed report says the riddle is found in a note upstairs in the cave. Read that before leaving so you know which phrases you are trying to match in the village. A photograph or screenshot of the note keeps the wording available while you inspect the buildings.
Separate each descriptive phrase from the building it suggests and from the symbol you later observe there. Those are three parts of the same deduction, and mixing them up makes a straightforward route harder to follow. This recording method is a suggested way to organize the puzzle, not an additional item or hidden journal feature you must unlock.
Inspect the workshop clue first
The community solution connects the first phrase to a workshop and says to inspect above its entrance using special vision. Look for the actual mark rather than deciding its shape from the word workshop alone. There is no evidence here that the kind of tool used by the building determines the correct symbol.
Once you have a visible mark, record it separately from the landmark's name. A simple sketch is more useful than remembering that the first answer was near a shop, because the final clue is also associated with a trading location. Do not leave this step with only a guessed outline if the mark has not appeared for you.
Interpret the temple of sleep as an inn clue
The second phrase is explained in the detailed solution as the inn, a place with many beds. It is not evidence for a separate religious building, boss arena or optional temple dungeon. Our temple of sleep explanation focuses on that wording so the metaphor does not send you into the wrong part of the map.
Inspect the inn's relevant entrance area using the same clue-finding approach described for the workshop. Match the mark you actually see instead of importing the mine puzzle's triangle or square from another guide. If the sign or translation differs, compare the building's function and the original riddle rather than relying only on an uncertain spelling.
Check the store for the final mark
The third phrase is associated with a place that provides supplies, identified by the respondent as the store. Another participant in the earlier discussion specifically asks about finding the merchant's symbol with special vision, which helps show why this step can be confusing. That question is not an independent solution, so it should not be cited as proof of a precise wall position.
Use the current building, the phrase in your note and the visible mark together before selecting your last block. The sources do not establish exact coordinates or a universally reliable camera angle. If you cannot reveal the mark, preserve the screen and the clue text instead of assuming an arbitrary symbol is correct.
Return to the pillars with three identified blocks
The detailed explanation says to take the three blocks carrying the matching symbols and place them on the pillars upstairs in the same landmark order. It does not say that every stone block scattered through the cave is part of the final answer. That distinction matters because the question itself describes more blocks than the three used in the response.
Before placing anything, compare your notes with the block artwork and the sequence in the riddle. If placement feedback is unclear, record what you tried so you can distinguish a selection problem from an order problem. A reset command, a particular pickup binding and any required timing are pending confirmation, so none is invented here.
Understand the reported reward and its limits
In the older cave discussion, one player identifies the reward as a weapon and another explicitly agrees when asked whether it is the knuckles. That is a dated community report of the cave's contents, not a promise about every version or a full item-stat record. Our weapon location reference treats it with the same version qualification.
The later question also includes a player's concern that advancing the story and flooding the town may have prevented them from returning to its clues. That is a report of a possible access problem, not confirmation of an unavoidable permanent lockout. If your current route is unavailable, the exact recovery conditions remain pending confirmation rather than a reason to delete or alter your save.
Keep the mine and cave answers separate
The four-symbol mine puzzle has its own published sequence and a different discussion. The cave route described here instead uses three symbols found through village clues. Applying one answer to the other is a location mismatch, not evidence that the symbol order has secretly changed. Four-symbol mine answer.
If you still need help, include your version, difficulty, current objective and screenshots of both the riddle and the mechanism. Those details make a focused comparison possible without asking someone to infer your location from the phrase smugglers cave alone. Until a current playthrough establishes the exact drawn marks, this page provides the sourced landmark method and clearly identifies what remains unverified.
Related pages
Stygian Outer Gods Guide: Survive Your First Hours
Use this stygian outer gods guide to plan your first hours, understand talent cards, manage sanity, solve early obstacles and avoid outdated advice.
Stygian Outer Gods Brasko's Mansion Entry Guide
Find stygian outer gods brasko's mansion entry prerequisites, the tablet gate route, later mansion expansions, and practical checks for blocked progression.
Stygian Outer Gods Code for 4 Blocks in Mines: Solution
Find the stygian outer gods code for 4 blocks in mines, learn the reported symbol order and distinguish this mechanism from the lighthouse cave puzzle.